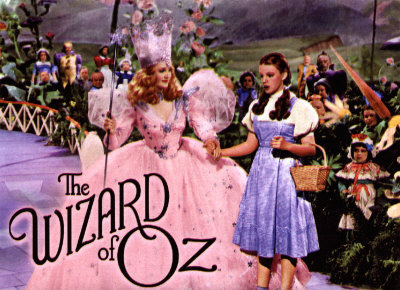
How to make a Dorothy from the Wizard of Oz costume
(in about the same amount of time it takes to watch the Wizard of Oz)
Supplies:
1 3/4 yards of Gingham fabric
About 20" of Velcro
(2) white buttons
ruler, rotary cutter
sewing machine
These measurements fit my small 4 year old.
Top chest piece: I measured her chest (20") plus 2.5" for seam allowances and 2" for overlap in the back. I wanted the top piece to be about 5" tall. So the measurements are (cut 2) 24.5" x 6". I added a small strip to the top, the measurements are (cut 2) 2" x 6".
Skirt: Measure from waste to desired length (adding 1.5" for seam allowance) x width of fabric (my Gingham was 44"). I did 18", but it's a little long. You can always shorten it.
Straps: cut (4) 2" x 20"
I used a 1/4" seam allowance on the whole costume.
Take the 2 small strip pieces and sew right sides together leaving a couple of inches open to turn right side out and press. Top stitch 1/8" around top and ends.
Take the 6" piece and sew with right sides together leaving a couple of inches open to turn right side out and press.
Take small strip and pin, with the un-top stitched piece on top, to top of 6" piece with right sides together.
Top stitch ends and top of 6" piece. Check the picture below.
Moving on to the skirt. Fold in edges 1/4" and press, then fold again 1" and press. Do the same for the bottom.
Sew around all three sides to close the hem.
Now we'll attach the skirt to the top. Sew basting stitch along the top, un-sewn edge. Before gathering, find center of top piece and skirt, mark with a pin.
Gather skirt. See picture below.
Pin right sides together and sew, but first make sure you've changed your sewing machine setting from the baste stitch. Also, make sure your right sides together. Before you sew, double check it. I may have sewn it wrong. Twice.
Top stitch, see picture below.
Time to attach the straps.
Straps: Take two and sew right sides together, leaving a couple of inches to turn. Press and top stitch. Pin the dress together in the back, overlapping about an inch. I tried it on my daughter at this point so I could make sure the straps were the right length; if they aren't, you can cut them down. (Pay no attention to the crazy faces) I wanted the straps to be at a little angle in front. Find the middle of the dress and pin the straps about 2" apart.
Turn to back and pin about 4" apart.
Sew the straps on making a 1" square.
Tada! Almost done. To close the back, I used Velcro. This is a costume, and I had Velcro on hand, so this is the way I have chosen. My Velcro measured 19 1/2". Pin in place and sew on.
Grab a white button up shirt, add the famous red shoes, and basket with Toto, and you are done.
This is my first, and maybe only tutorial. I'm almost embarrassed to post it. I looked for a free tutorial and could not find one. It's definitely not perfect, but this is a simple dress. If you have questions, please email me.